If for some reason your cricut machine gets out of whack and doesn't work properly, you can follow these instructions to try and reset it.
1) First, turn your machine on with no cartridge loaded.
2) Roll all your gray dials (the two on the left and the one on the right) down to their lowest setting.
3)Grasp the green/gold cylinder blade assembly and use it to pull the entire gray carriage car unit (the one with the Cricut bug on it) along its track to the other side of the machine.
4) Back in the cave where the gray carriage car usually sits there is a red button. Press that button and hold it down for about three seconds.
5) Let go and then move the gray carriage car back into place.
6) Roll all your dials all the way up and all the way down three times—three times for each dial.
7) Hit the “Cut” button and turn the machine off. Let the machine sit for a few minutes (15-20), load a cartridge, turn it on, and try a practice cut.

Thursday, October 14, 2010
Saturday, October 9, 2010
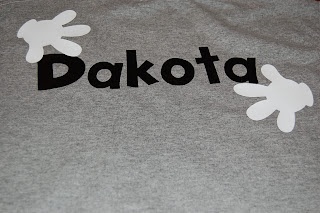
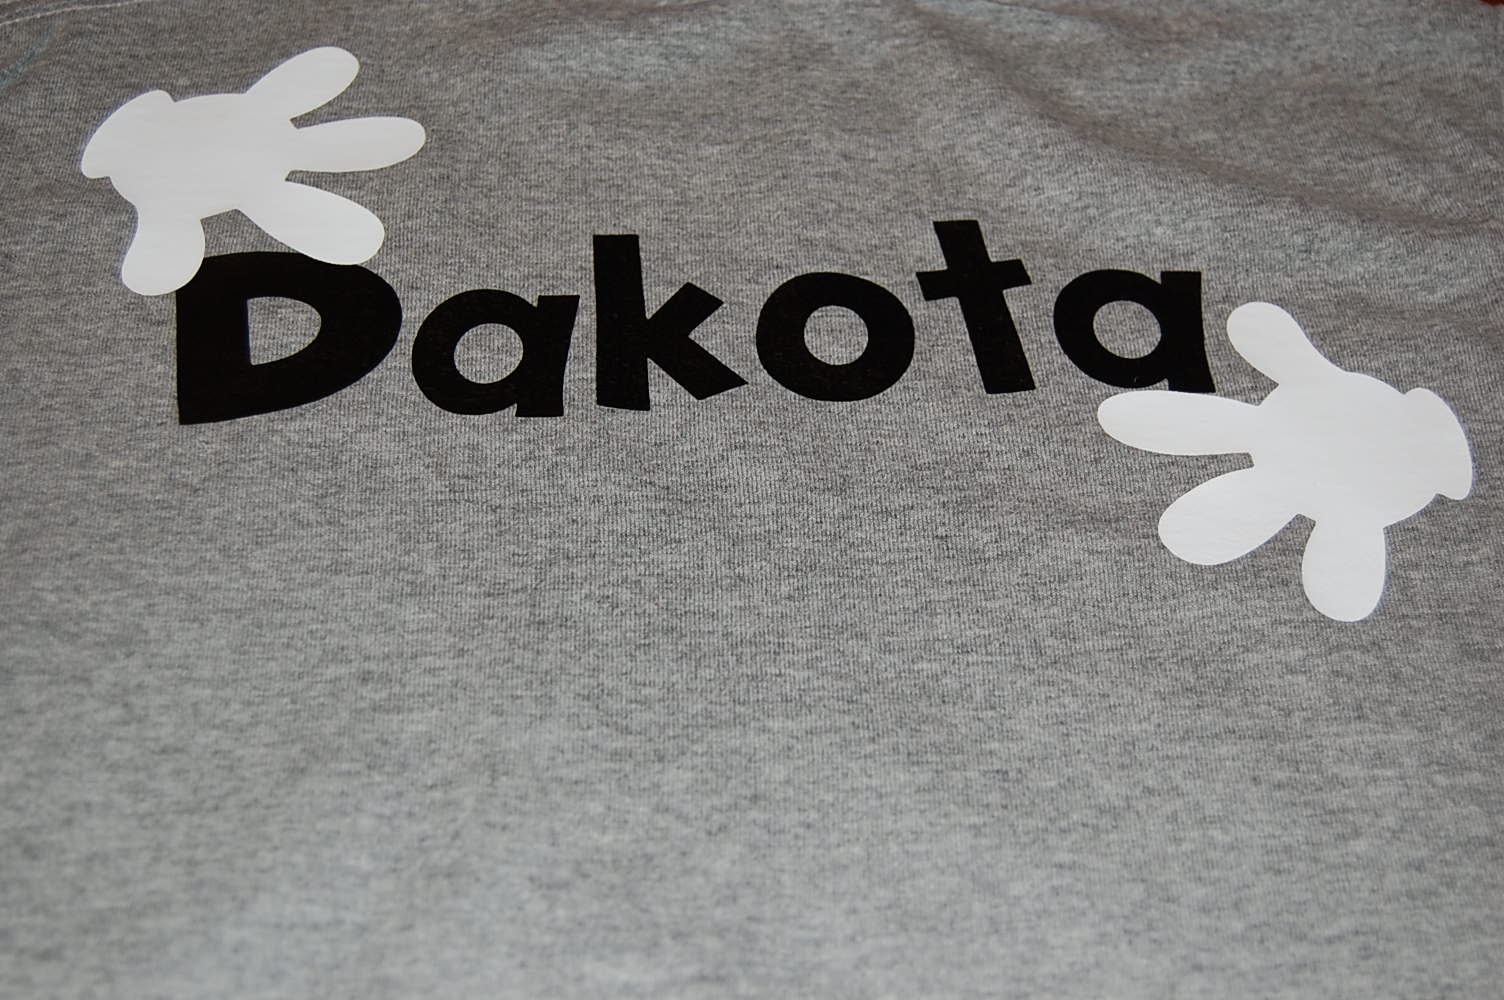
Disney Shirts Made With Heat Transfer Vinyl
Here are some shirts I made for our upcoming trip to Disneyland. I used Disney Font for the letters and gloved hands, Disney Character and Friends for the characters, Indie Cart for the bio hazard sign, Old West for the barbed wire, and Campout cartridge for the fire. Quick instructions at the bottom of this post.


Flip the image you want to cut using the cricut expression flip function.
Cut.
Weed (or peel) off the excess vinyl that you don't want.
Iron on the shirt - glossy side up about 10-15 seconds.
Peel off the glossy layer on the vinyl.
Cartridges I used:


Quick How to:
Place the vinyl in the circut at 3x3x3 settings. Vinyl should be dull side up.Flip the image you want to cut using the cricut expression flip function.
Cut.
Weed (or peel) off the excess vinyl that you don't want.
Iron on the shirt - glossy side up about 10-15 seconds.
Peel off the glossy layer on the vinyl.
Cartridges I used:
Wednesday, October 6, 2010
Winter Woodlands Christmas House
Winter Woodlands Christmas House

I have to admit that when I first saw this cartridge it was not on my list of favs. But recently I realized that these cute houses make some really neat decor for Christmas. Infact, I plan on making an entire village...time permitting of course! Anyway, this house was made for my friend Marlene. The funny story is that she's been asking me to make her a haunted house one...but that one took me 3 hours to assemble. So I made here this one instead. I think she'll love it anyway. This dots on the roof are made with Viva Decor pens. I love that raised glossy look!
Supplies Used:
Monday, October 4, 2010
Flying Monkeys Dustin Pike Card
This card was almost too simple to post, but then I thought to myself...simple cards are sometimes the best ones! I think this one took me 5 minutes to whip up. I love this flying monkey digital stamp!

Saturday, October 2, 2010
Explosion Box Birthday Card with Tealight Candle
Here is the Explosion Box Birthday Card I made my co-worker for her birthday.


To make it you need a 7 1/2 x 7 1/2 piece of paper scored at 2 1/2 and 5" on both the width and the length.
Then you cut out the corners and fold it up.
For the top you need a 5 1/4 x 5 1/4 piece of paper scored at 1 2/8 and 3 7/8 on both the width and length. Instead of cutting the corners you need to fold them in at a diagonal and glue them down. There are plenty of tutorials on the Internet on explosion boxes, so I only attempted to explain the sizes as they differ depending on what you are exploding!
Subscribe to:
Posts (Atom)