Saturday, December 18, 2010

12 Days of Christmas - Fun Present Swap - Day #5

On the 5th day of present swap my santa gave to me....
Sizzix texture folders!  I've never had one of these before!  How fun!

Friday, December 17, 2010

12 Days of Christmas - Fun Present Swap - Day #4

On the 4th day of present swap, my santa gave to me...
2 pair of mittens
2 Christmas clear stamps
1 2 year planner
How did my Santa know I lost my mittens and needed new ones?

Thursday, December 16, 2010

12 Days of Christmas - Fun Present Swap - Day #3

On the 3rd day of present swap my santa gave to me....3 extra large bottles of stickles.  Man, I use stickles on everything - these are perfect!

Wednesday, December 15, 2010

12 Days of Christmas - Fun Present Swap - Day #2

On the second day of present swap, my santa gave to me...
Football brads!  Totally cool - I haven't seen these in Micheals yet so I'm so excited! 
I also received very pretty pearl brads and micro beads.  I'm super excited to try these out!
This swap is fun!

Tuesday, December 14, 2010

12 Days of Christmas - Fun Present Swap - Day #1

Here's is what day #1 had in store for me.  ATG tape - how perfect!  Two rolls will last me at least 2 months!  Horray!


Monday, December 13, 2010

Fun with a Stocking Swap

I sometimes participate in various swaps over at the Cricut message boards.  This month I swapped a filled stocking.  Here is the one I received.  The snowflakes and angel were hand crocheted!  I haven't opened it yet because I want to wait for Christmas. So stay tuned to see what I got!

12 Days of Christmas - Fun Present Swap

Another swap I participated in this month  over at the Cricut message boards was a 12 Days of Christmas Swap.  Beginning on December 14th I can open one present per day until Christmas.  Each package is numbered in the order that I should open it.  My secret Santa was extra cool because she added two bell ornaments and a tin FULL of Hot Tamales - one of my favorite candies.  Yum!

Sunday, December 12, 2010

Christmas Presents for the Teachers

My kiddos (ages 6 & 9) used the cricut to decorate some gift bags for their teachers this year.  I love how creative they are!   The cartridges used are: Storybook for the 1" letters, Baby it's Cold Outside for the 3" snowflake, and Snow Friends for the 4" snowman.

You Make My Heart Smile Card - Smiley cartridge

Here's a cute card I made with the Smiley cartridge that was a free download when registering a gypsy in November.  I love this cartridge!

Thursday, December 9, 2010

Human Chorionic Gonadotropin - HCG in Arizona - Off Topic

I decide to create a brief post about HCG because I have so many friends asking about it and want to keep the information in one spot.  Sorry this is not craft related!


First of all - I do not reccomend this diet without proper supervision of a primary care physician. Secondly, I am not a medical doctor or specialist so information contained here is opinion only and does not substitute for your doctor's advice.  Now...knowing that....here goes.


HCG is scientifically defined as Human Chorionic Gonadotropin.
It is a natural accruing protein hormone that develops in the placenta during the first trimester of pregnancy shortly after conception.  The drug you buy from the pharmacist is a variation of the hCG form that is used for fertility treatments, and in a much smaller dose.  All hCG used for medical purposes   is natural, but created in laboratories from sterile cells.  It is NOT extracted from women or animal urine- a common misconception.


If you choose to go to a clinic to partake in a monitored HCG program then do your research to ensure you're not overpaying.  I have a few friends that have gone to Maturomedical in Tempe, Arizona and have been successful.  I have received quotes in the thousands for a 40 day program, but you should be able to get a 40 day round for under $400 if you do your research. 


If you choose not to go to a clinic and do HCG on your own (You can get enough supplies for 2 or more rounds at less than $75/round)  I suggest doing the following:
1.  Read Dr. Simmons manual called Pounds and Inches 
2.  Purchase this guide on Amazon HCG Weight Loss Cure Guide
3.  Read up and ask questions on this forum HGC Diet Forum
4.  Purchase your supplies*
*If you are doing this the first time, the easiest way to get started is to purchase a kit.  You can purchase one from YourHCGDiet. There are many different types of HCG such as drops, pellets, creams, and shots.  Some folks have success on the drops, while others have success with the shots.  I haven't heard anything regarding the pellets or creams.


For those of you brave enough or cheap enough to purchase it on your own then you'll need to do the following assuming you are injecting your HCG:
A.  Buy your HCG.  Perhaps you will try this company:  www.alldaychemist.com.  Fertigyn appears to be stronger than the others, but again this varies depending on the person.  You can also buy B12 there as well, but will need to inject this with a larger needle.
B.  Buy your mixing vials.  Try this company: www.gpzservices.com
C.  Buy your needles: Insulin Needles (you can use insulin needles to mix as well, but if you don't want to use them then you'll need to buy some mixing needles)
D.  Buy your Bacteriostatic water for mixing


In all...the diet is a tough one - especially for someone like me who loves carbs. The positive part is that it is quick weight loss and you can drop the weight and then just focus on maintenance.  What ever you choose, I hope you will work with your doctor to find a healthy solution for you.  

Tuesday, November 30, 2010

A Cup of Cheer - Tea Box Card - Winter Frolic Cricut Cartridge

Here is a tea box card I made for a friend when she was feeling sick.  I used a stampin up metal tin from their last big sale.  Yogi teas were 25% off using the amazon link below combined with subscribe and save plus the coupon code: YOGTEA97.  A great deal for this tea!  Winter Frolic Cricut cartridge is used for the cup (2 1/2" cut)  and phrase (2").  Cuttlebug snowflake embossing folder for the white background.  I hope you like it!


Products Used:

Monday, November 15, 2010

Cupcake Spa Socks - Easter 2010 Cricut Cartridge

I got this idea from Greenbean's Crafterole blog - so here's my version....
Instructions:
I used a spa sock I picked up from Michael's for $2 an rolled it up to make it look like a cupcake and secured it with a rubber band.
I cut the cupcake holder at 4" from the Easter 2010 cartridge.
Then I used a glue dot to attach a red pom pom to the top.  Red cinnamon disc candy work as well.
Put the sock in the cupcake holder and both in a cello bag and tied the ribbon.
This was super cute and easy!

Friday, November 12, 2010

Thankful Banner - 1st Online Cricut Class - Country Life Cricut Cartridge

Here's the banner I made from the first Cricut online class - I substituted a lot of items and colors so that I could make use of the stash I already had.  That class was really hard to follow because I couldn't see the gypsy screen, but I got the general idea and finished it up myself. 

Instructions:
I cut the banner triangle from the Country Life cricut cartridge at 5 1/2".  It's great because you can fit 6 on one page.  I cut 3 first, then I flipped the image and cut the remaining 3 to make use of the paper.  Yes - I have tons of extra banners lying around now...but they will be put to good use for sure.  
I glued one banner to another banner that was "flipped" so that I could make this double sided, even though I didn't need to.
The paper was DCWV autumn pack that I recently got on Joanns.com for around $4 for 180 sheets ( super cheap!).
The scallops are cut from Easter 2010 cartridge at 1 1/2 ".
I inked the edges of the scallop in red using my Stampin Up red ink pad.
The lettering is cut from Storybook cartridge at 1 1/2".
I glued them all together and threaded Ofray ribbon through the holes.
I added a dew drop to the bottom of the banner to give it some dimension and weight.


Thursday, November 11, 2010

Bake Scrapbook Layout - From My Kitchen Cricut Cartridge

Here's a layout I made today using the "From My Kitchen" Cricut cartridge.


Oven is cut at 3"
Apron is cut at 3"
Cookie pan is the cupcake pan cut at 1 1/2" and stickled.
Gingerbread boys cut at 1 1/2" -used Viva Decor pens for the details
(pens on sale buy 3 get 1 free at store listed below)
The oval and bake wording is cut at 2 1/2"
Mats are cut at 5"x7" and 4"x6"


Supplies Used:

Sunday, November 7, 2010

How to save huge $$ on food staples...

I've had quite a few people ask me how I recently saved $200 at my grocery store (spent $51).  So here are my tips.
1.  Buy on sale, use a coupon, use the store discount card, AND use a rewards credit card to pay.
2.  Stock up on staples.  Soups always go on sale during this time of year plus they store long in the pantry.
3.  Check this website for an easy matched up list with coupons.  I use the Arizona forums.
4.  File, but don't cut every coupon.  I cut them out when I need them.  Use internet, manufacturer's, and store coupons if the store will except them.

Here's my scenario for my quick trip to Frys today where I spent $7.49 but "saved" $74.10:

2 - Cokes12 pk @ $3.67 = $7.34 (crud - I meant to get the 2 for $3 deal but the discount only applied if you spent $50 AFTER discounts...which obviously I didn't.  Note to self...read the fine print) *Returned these*.
20 - Campbells condensed soups @.99 = $19.80 (I use these in casseroles all the time throughout the year so my after coupons and discounts price at .24 each makes this a steal!)
5 - Campbells chunky soups @1.49 = $7.45 (after discounts and mfg coupons = .49 each)
6 - Campbells healthy soups @ 1.49 = $8.94 (after discounts and mfg coupons = .49 each)
2 - Tyson Anytizers @2.28 = $4.56 (after discounts and mfg coupons = .78 each)
2 - Stove Top Stuffing @ $1.25 = $2.50 (after target coupon = .50 each)
2 - Nestle Cocoa @.99 = $1.98 (no coupon but .49 each after discount)
3 - Rozini Garden Pasta @ 1.29 = $3.87 (after discount and coupons = -.21 money maker each)

Coupons Used (Total: - $22):
1 - fresh and easy competitor coupon for $5 off $20 found here = -$5
1 - target stove top coupon for .50 off 2 = -$.50
3 - mfg coupon .25 off 4 condensed soups = - $3 (frys all coupons are worth $1)
2 - internet coupon $1 off 4 condensed soups = -$2 (found at campbells.com)
1 - internet coupon $1.50 off 3 campbells chunky soups = -$1.50
3 - internet coupons for $1 off 2 campbells healthy select harvest soups = -$3
2 - internet coupons for .50 off campbells healthy chunky soups = -$2
3 - peelie coupons found next to the rozini pasta for $1 off $1 = -$3 (and yes...I only took what i needed)


Total $56.44
Minus $20 (buy 10 save $5 mega event x 4) = $36.44
Minus $22 coupons used below = $14.44 + .55 tax = $14.99 
Minus the return of the coke fiasco ($7.49) = $7.50 out of pocket for a savings of 90.6% Awesome!

Saturday, November 6, 2010

Glass Block with Lights - Armor Etch

Here's another one of my Goodwill finds.  I purchased this glass block with lights for $2.50 and etched the snowflakes and added the vinyl word.  Sooooo easy!

Supplies:

Customized Basketball Bank using Old West Font

Ashton's new Basketball Bank came from the Goodwill today.  I hopped over there for the 50% off sale and found this basketball piggy bank.  It was pretty much brand new as you can tell and it was only $1.50.  I brought it home and put some vinyl lettering on for him using the Old West Cricut Cartridge.  He loved it!


Cartridges I used:


Thursday, October 14, 2010

How to reset your cricut

If for some reason your cricut machine gets out of whack and doesn't work properly, you can follow these instructions to try and reset it.

1) First, turn your machine on with no cartridge loaded.
2) Roll all your gray dials (the two on the left and the one on the right) down to their lowest setting.
3)Grasp the green/gold cylinder blade assembly and use it to pull the entire gray carriage car unit (the one with the Cricut bug on it) along its track to the other side of the machine.
4)  Back in the cave where the gray carriage car usually sits there is a red button. Press that button and hold it down for about three seconds.
5)  Let go and then move the gray carriage car back into place.
6)  Roll all your dials all the way up and all the way down three times—three times for each dial.
7)  Hit the “Cut” button and turn the machine off. Let the machine sit for a few minutes (15-20), load a cartridge, turn it on, and try a practice cut.

Saturday, October 9, 2010

Disney Shirts Made With Heat Transfer Vinyl

Here are some shirts I made for our upcoming trip to Disneyland.  I used Disney Font for the letters and gloved hands, Disney Character and Friends for the characters, Indie Cart for the bio hazard sign, Old West for the barbed wire, and Campout cartridge for the fire.  Quick instructions at the bottom of this post.


Quick How to:
Place the vinyl in the circut at 3x3x3 settings. Vinyl should be dull side up.
Flip the image you want to cut using the cricut expression flip function.
Cut.
Weed (or peel) off the excess vinyl that you don't want.
Iron on the shirt - glossy side up about 10-15 seconds.
Peel off the glossy layer on the vinyl.

Cartridges I used:


Wednesday, October 6, 2010

Winter Woodlands Christmas House

Winter Woodlands Christmas House
I have to admit that when I first saw this cartridge it was not on my list of favs.  But recently I realized that these cute houses make some really neat decor for Christmas.  Infact, I plan on making an entire village...time permitting of course!  Anyway, this house was made for my friend Marlene.  The funny story is that she's been asking me to make her a haunted house one...but that one took me 3 hours to assemble. So I made here this one instead.  I think she'll love it anyway.  This dots on the roof are made with Viva Decor pens.  I love that raised glossy look!

Supplies Used:

Monday, October 4, 2010

Flying Monkeys Dustin Pike Card

This card was almost too simple to post, but then I thought to myself...simple cards are sometimes the best ones!  I think this one took me 5 minutes to whip up.  I love this flying monkey digital stamp!

Saturday, October 2, 2010

Explosion Box Birthday Card with Tealight Candle

Here is the Explosion Box Birthday Card I made my co-worker for her birthday.


To make it you need a 7 1/2 x 7 1/2 piece of paper scored at 2 1/2 and 5" on both the width and the length.
Then you cut out the corners and fold it up.

For the top you need a 5 1/4 x 5 1/4 piece of paper scored at 1 2/8 and 3 7/8 on both the width and length.  Instead of cutting the corners you need to fold them in at a diagonal and glue them down.  There are plenty of tutorials on the Internet on explosion boxes, so I only attempted to explain the sizes as they differ depending on what you are exploding!

Saturday, September 25, 2010

AZ Chirper's Christmas List

My hubby is always looking for ideas for me for Christmas so here you go sweetheart!  Better start saving now!  I'll keep adding as I think of other things that I "need".

Amazon sale 4 for 3.  You pay for the 3 highest items:


Not 4 for 3, but still on the list.


Monday, September 20, 2010

New Name!

I recently left the Cricut Circle so I felt the need to change my blogspot name.  I am now writing under AZChirper (Arizona Chirper).  Hooray!

Goodbye Cricut Circle!

I exited the Cricut Circle and will be moving this content to a more appropriately named blog soon.

More Christmas Tags!

These elegant Christmas tags are made from the Winter Woodlands cartridge.  I added an eyelet and a red gem to set off Rudolf's nose!  I hope the ladies that I swapped with really like them!

Friday, September 17, 2010

Christmas Tag Made From 3 Birds on Parade Cartridge

Here's a tag I made for a Cricut Circle Swap.  This cute bird is from the 3 Birds on Parade cartridge.  He's super cute!  The light string took quite some time to do x the number of tags I made.  I love how the snowflake eyelet really sets it off!

Wednesday, September 15, 2010

Witch Freezer Paper Shirt Made with Pumpkin Carvings Cartridge

Micheals was having a $1.99 t-shirt sale so I stocked up.  Here is a t-shirt I made with the Cricut Pumpking Carvings Cartridge.   To create the freezer shirt follow these very simple steps:

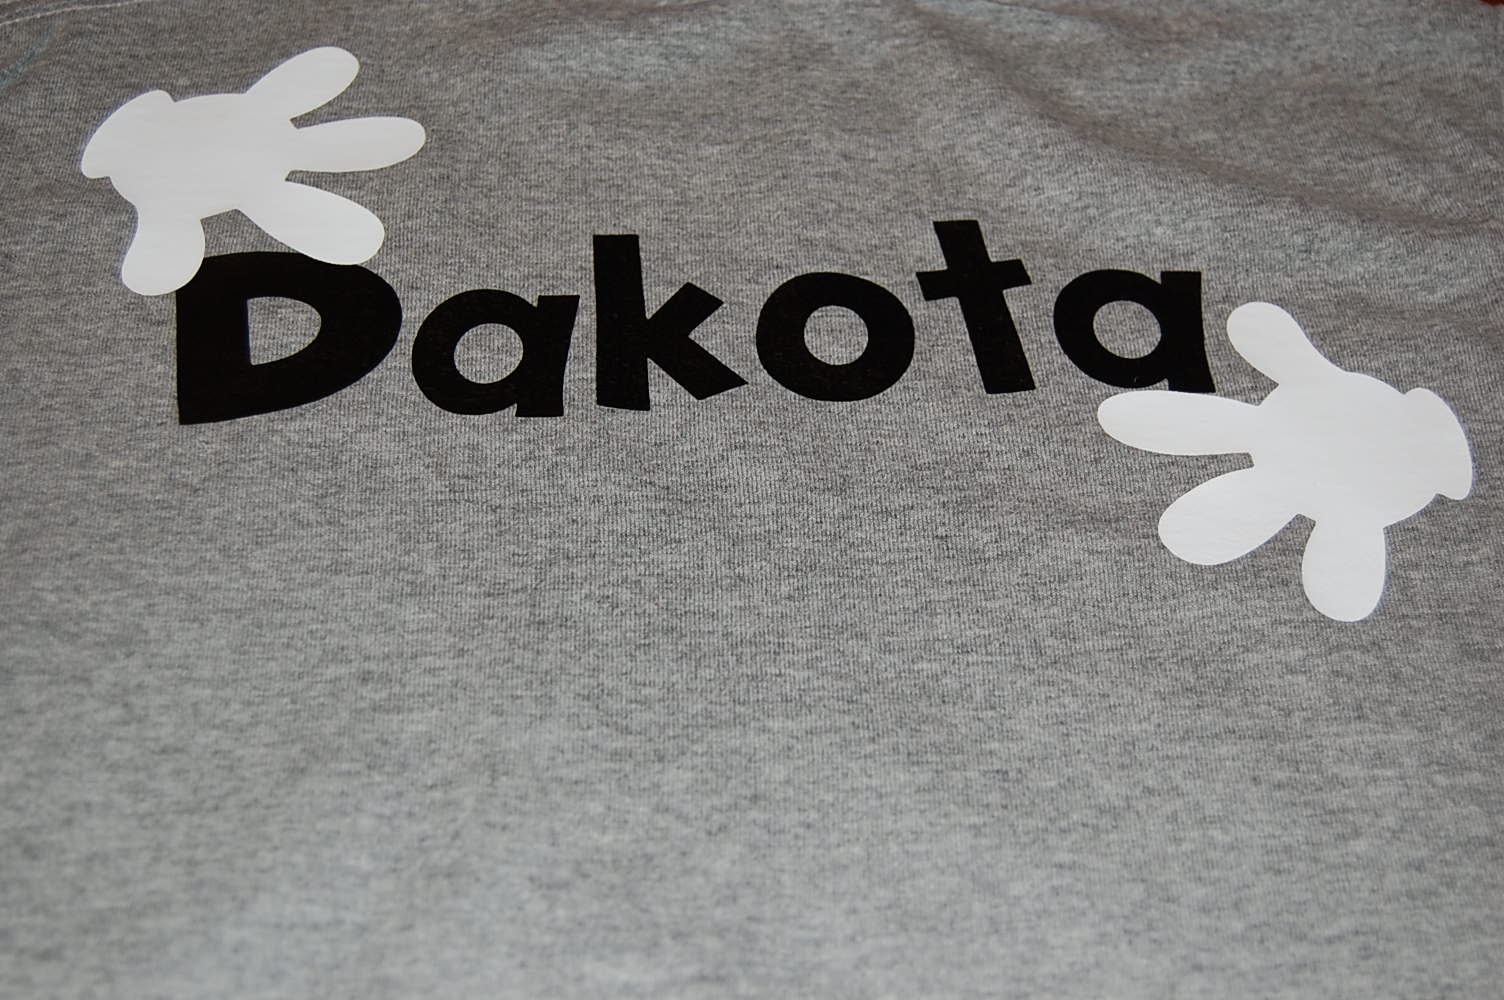
1.  Place Freezer Paper paper side down (waxy side up) on your Cricut mat.
2. Press the flip function on your Expression, select your desing, and load your mat. 
3.  Using blade depth 3, pressure med, and speed med, cut your design.
4.  Carefully peel off the freezer paper.
5.  Iron the negative part of the design on your shirt with the waxy side down. The negative part of the cut is the stuff you normally throw away.  For these shirts, you'll need to keep it and throw away the normal cut.  I know...it just doesn't feel right.
6. Paint the areas of the shirt.
7.  Let dry for 24 hours.
8.  Heat set with iron.
9.  Wash in cold water after 72 hours.


Supplies Used:

Sunday, September 12, 2010

Grateful Card

Here's a card that I made with the 3 Birds on Parade cartridge.


Friday, August 20, 2010

You're a Hoot Card

Two cute cards made from Just Because Cricut cartridge and embellished with stickles.
Supplies Used:

A Gift from my Circle Pal :)

I was so thrilled to receive a gift from my Circle Pal today.  Here's what she sent me all the way from Trenton New Jersey! In this box was a cute blue bunny rabbit - how sweet :), Martha Stewart Halloween paper - perfect, a tulip jewel setter and pretty pink bling - How perfect!  Thank you so much cricle pal!

Wednesday, August 18, 2010

You're Rad Card

My 6 year old son and I made cards this weekend.  His is on the left and I think it's fantastic!

Supplies:

Monday, August 16, 2010

Love You a Latte Cards

I love this card paired up with a $5 starbucks gift card - makes a perfect gift.

Supplies Used:

Saturday, August 14, 2010

Thank Ewe Cards

These cards are made from theCricut Cartridge, Just Because Cards and empbossed with the cuttlebug.  I hope you like them!

Thursday, August 12, 2010

Recipe Board Book - 2 Years in the Making

I started making this recipe book at the Mesa scrapbook convention in 2008.  I never finished it until this weekend.  I stumbled across this kit and got to working.  Here are the pictures of each page.  I love this!  Finally a completed project from that convention!